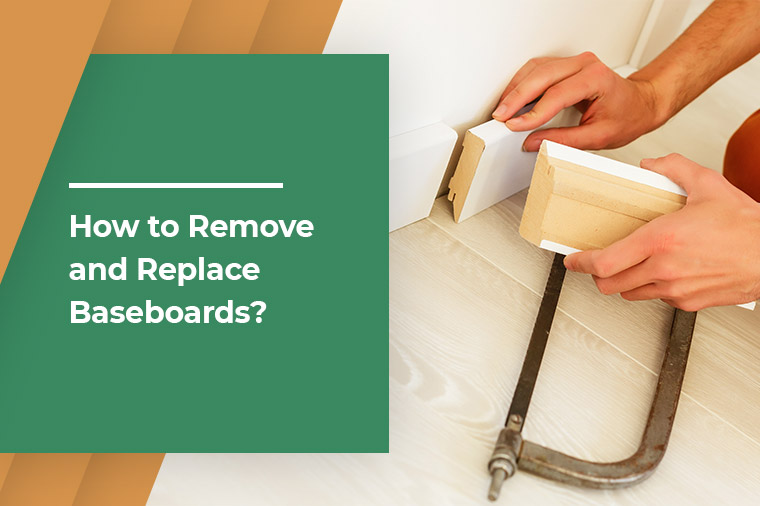
How to remove and replace baseboards?

To All Our Valued Customers, Over the past few years, the Covid 19 Pandemic has forced us to adapt and change the way we do things on a day-to-day basis. Florida Lumber is no exception. To make sure that we remain strong and competitive in the market for the years to come, Florida Lumber has had to adjust and change our vision for the future. In the last 2 years, we have stopped selling Sheetrock and drywall products, roofing felt and roofing materials, and have even closed on Saturdays.
Over the last few months, we have been transitioning our way out of the door supply business so on August 31, 2022, our door shop will stop assembling doors. We will continue liquidating our doors from inventory until we are out of material.
Some customers have asked if we are closing or even moving locations. To set the story straight, we are not closing or selling the business and we are not moving. These changes are all part of our new vision and path to continue serving South Florida and increasing our footprint in the construction supply industry.
Our focus is going to be on Lumber, Construction Materials, Rebar Fabrication and Rebar Accessories. As we have liquidated some of the items that we don’t sell anymore we have created more space to buy a larger volume of our core items and pass on the savings to our customers.
In the next year you will start seeing changes that will help improve our ability to serve you, our customers. We appreciate your business and your patience as Florida Lumber’s new vision becomes reality.
A Todos Nuestros Valiosos Clientes En los ultimos anos, la pandemia de el Virus (Covid 19) nos ha forzado a adaptarnos y cambiar la forma de hacer cosas en el dia a dia. Florida Lumber no ha sido una excepcion.
Para asegurarnos de mantenernos fuertes y competitivos en el mercado en los anos venideros, Florida Lumber ha tenido que ajustar y cambiar nuestra vision para el futuro. En los dos ultimos anos hemos dejado de vender los productos de yeso (sheetrock), paneles de yeso (drywall), tela asfaltica (roofing felt), materiales de techo y cerramos los Sabados. En los ultimos meses, hemos estado en transicion para salir del negocio de suministro de puertas, en Agosto 31, del 2022 nuestra tienda de puertas dejara de construir y/o cortar puertas. Vamos a continuar liquidando nuestro inventario de puertas haste que terminemos todo el material. Algunos de nuestros clientes han preguntado si estamos cerrando o si nos estamos moviendo a otra localidad. La verdad es que no estamos cerrando, no estamos vendiendo y no estamos cambiando de localidad. Estos cambios son todos parte de nuestra nueva vision y camino a continuar sirviendo al estado sur de la Florida y incrementar nuestras huellas en la industria de suministros de construccion.
paneles de yeso (drywall), tela asfaltica (roofing felt), materiales de techo y cerramos los Sabados.
En los ultimos meses, hemos estado en transicion para salir del negocio de suministro de puertas, en Agosto 31, del 2022 nuestra tienda de puertas dejara de construir y/o cortar puertas.
Vamos a continuar liquidando nuestro inventario de puertas haste que terminemos todo el material. Algunos de nuestros clientes han preguntado si estamos cerrando o si nos estamos moviendo a otra localidad.
La verdad es que no estamos cerrando, no estamos vendiendo y no estamos cambiando de localidad. Estos cambios son todos parte de nuestra nueva vision y camino a continuar sirviendo al estado sur de la Florida y incrementar nuestras huellas en la industria de suministros de construcción.
2431 N.W. 20TH ST.
MIAMI, FL 33142
PHONE: (305) 635-6412
Sales Fax: (305) 633-4054
Accounting Fax: (305) 635-3723
Email: sales@tloridalumber.com

Beautiful rooms are adorned with baseboards at the junction of the wall and the floor. In addition to prettifying rooms, baseboards also offer protection to the drywall at the bottom from getting damaged because of potential buildups of dirt, molds, and mildews.
Baseboards are meant to create a seamless transition between the wall and the floor. Because of their neat, aesthetic look, they render an ultra-modern touch to the interiors of your home. But how to replace baseboards if they wear down over time and start looking ugly?
The removal and replacement job of a baseboard take the following materials and tools into consideration.
- Materials
- Baseboards
- Construction adhesive
- Drop cloth
- Earplugs
- Latex caulk
- Painter’s tape
- Rags
- Safety glasses
- Semi-gloss interior paint
- Wood scrap
The following tools are required to accomplish the job.
- Compound saw
- Finish nails
- Hammer
- Measuring tape
- Nail gun
- Paintbrush
- Pencil
- Pry bar
- Putty knife
- Stud finder
- Utility knife
Read on to gain an understanding of the steps that you need to follow to remove an old baseboard and replace it with a new one.
Additional read: What are Baseboards? Types of Material & Styles and Designs
Step 1
In this initial step, the old baseboard is gently taken out. Make sure the floor or the adjoining drywall is not damaged. Before you remove the baseboard, get the floor adjacent to the wall covered with a dry cloth for the purpose of offering protection. Also prior to getting the baseboard pried off, make a cut along the top portion of the baseboard to slightly loosen it.
Use a utility knife for this purpose and make certain you really cut through rather than simply sliding the knife along. This will prevent the drywall paper to come off together with the baseboard while prying it off.
Step 2
At the end of step 1, you will find the baseboard top portion separated from the wall. Now, the time is to completely take it off from the wall. To do this, you have to take the help of a putty knife and hammer.
Strike down the putty knife along the space between the baseboard and wall with the hammer. Pry the baseboard off softly from the wall. This will loosen it more. Make sure you don’t attempt in removing the baseboard before loosening it. This might cause damage to the floor and wall.
Step 3
After the baseboard is made slack, you can use a pry bar to take it out of the wall completely. See to it that the pry bar is offered enough support. A piece of scrap wood can be placed between the wall and pry bar.
Make sure there is no damage done to the drywall. Now you can remove the nails with which the baseboard was fixed. Use a hammer to do it. Ensure you collect all the nails and keep them together in a safe place.
Step 4
Once the baseboard is totally removed, scrape off its stray pieces and chunks that are still clung to the drywall. For this purpose, you can make use of a putty knife. To reinstall a new baseboard, it’s necessary to start with a clean slate. Check and ensure the drywall surface is smooth before going ahead with the installation of the new baseboard.
Step 5
In this step, you need to find out the exact length and breadth requirements of the new baseboard. To do this you also need to measure the dimension of the room. The lower part of the wall may also have power outlets or HVAC wall vents.
It is important that while installing the new baseboard these elements shouldn’t be affected. During this step, you also need to find the studs that are positioned inside the drywall. This can be achieved with the help of a stud finder. This will simplify the process of placing the baseboard while nailing it to the studs.
Step 6
Put the baseboard in place along the wall and get its position fixed firmly. See to it you determine the correct position where to place the baseboard. The baseboard can be attached with a nail gun on the wall into the studs starting from the corner.
Sometimes clients may request joining two separate baseboards along a single wall. If that’s the case, you need to make an angled cut to join them. The angled cut helps eliminate the formation of any gawky space between the two different baseboards.
Step 7
During this step, you need to apply a caulk line for sealing the top portion of the baseboard. Caulking is crucial as it prevents the accumulation of molds and mildews. It also lessens the probability of the baseboard to get loose. The caulk you apply must be crisp and clean. Here a painter’s tape can come to your use.
You have to do the taping on the top portion of the baseboard adjacent to the drywall. Make sure the caulk is evenly applied all through the baseboard before removing the tape. This will create a clean, neatly defined trim line. Once this process is thru, get any unwanted caulk cleaned up with the help of a rag.
Step 8
After putting both the caulk and trim in place the baseboard needs to be garnished with the application of a semi-gloss paint coating. Why only semi-gloss paint? This is because it offers more resistance to a dirt buildup. Besides, such paints can be more easily cleaned.
Cost estimate
The cost of the whole operation of removal and replacement is conditional on the baseboard quality and the current market prices of the materials used in the course. The approximate total outlay can vary anything between $330 and $350.
Conclusion
So by now, you must have become a tad more familiar with the process to remove and replace baseboards. Not only do baseboards make the appearance of your rooms more charming but also they provide extra strength and resilience to their walls.

